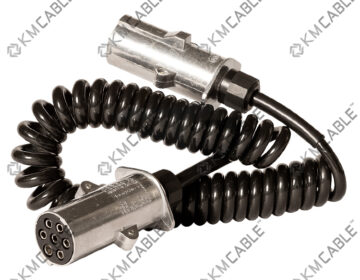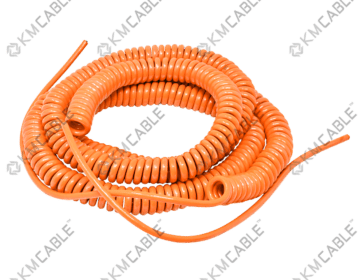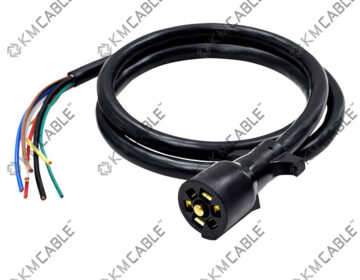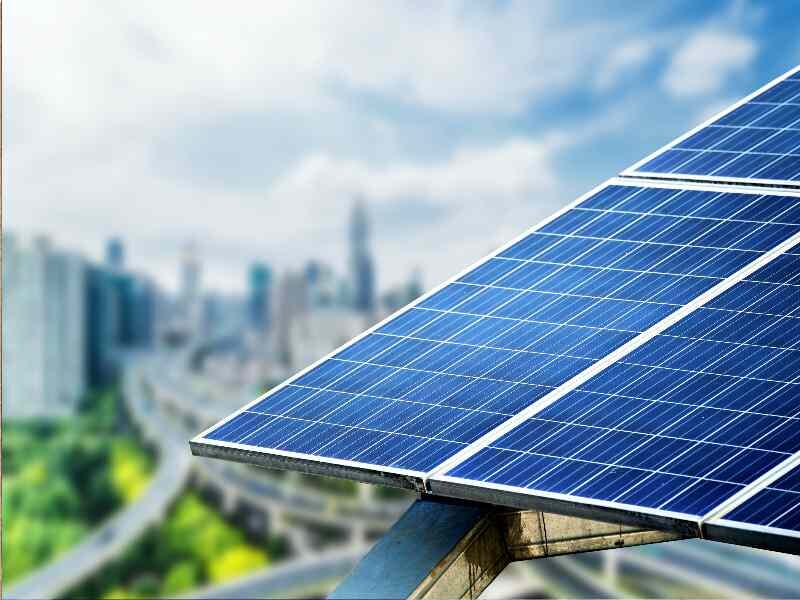
Photovoltaic (PV) systems have gained immense popularity as a sustainable energy solution. Among the key components of any solar energy system, photovoltaic cables play a vital role in transmitting electricity generated by solar panels. Proper installation of these cables is crucial for ensuring efficiency, safety, and durability. This guide will walk you through the essential steps, best practices, and common mistakes to avoid when installing photovoltaic cables.
Understanding Photovoltaic Cables
PV cables are specialized electrical cables designed for use in solar energy systems. They are engineered to withstand harsh environmental conditions such as UV radiation, extreme temperatures, and moisture.
1.1 Types of Photovoltaic Cables
1. Single-Core Cables: Used for connecting panels to inverters.
2. Multi-Core Cables: Often employed in more complex systems.
3. DC Cables: Carry direct current from solar panels to the inverter.
4. AC Cables: Transport alternating current from the inverter to the grid or load.
1.2 Features of Quality PV Cables
– UV Resistance: Prevents cable degradation under sunlight.
– Weatherproof Insulation: Protects against water and temperature extremes.
– Low Smoke Zero Halogen (LSZH): Ensures safety in fire incidents.
2. Planning the Cable Installation
Before installation, a detailed plan ensures efficiency and minimizes errors.
2.1 System Layout
– Map out the placement of solar panels, inverters, and batteries.
– Calculate the distance between components to determine cable lengths.
2.2 Cable Sizing
Choosing the right cable size is essential to reduce energy losses and prevent overheating.
– Factors to Consider: Voltage, current, distance, and environmental conditions.
– Use a cable sizing chart or software tool for accuracy.
2.3 Safety Compliance
– Adhere to local electrical codes and standards, such as NEC (National Electrical Code) or IEC (International Electrotechnical Commission) regulations.
– Include surge protection and grounding requirements in the design.
3. Tools and Materials Needed
For a smooth installation, gather the necessary tools and materials:
– Photovoltaic cables of appropriate types and lengths.
– Wire cutters and strippers.
– Cable connectors (MC4 or similar).
– Crimping tools.
– Multimeter for testing.
– Conduit pipes for cable protection.
– Cable ties and clips.
4. Step-by-Step Installation Process
4.1 Preparing the Installation Site
1. Clear the area of any obstructions and debris.
2. Ensure mounting structures for panels are secure and properly aligned.
4.2 Connecting Solar Panels
1. Identify the Positive and Negative Terminals:
– Use color-coded cables (red for positive, black for negative) for clarity.
2. Attach Connectors:
– Strip a small portion of insulation from the cable ends.
– Insert the stripped end into the connector, ensuring a secure fit.
– Crimp the connector with a crimping tool.
4.3 Routing Cables
1. Lay cables neatly, avoiding sharp bends and tight loops.
2. Use conduit pipes for protection against physical damage.
3. Secure cables with ties or clips to prevent movement.
4.4 Connecting to the Inverter
1. Connect the DC cables from the panels to the inverter’s input terminals.
2. Connect AC cables from the inverter to the distribution box or grid interface.
4.5 Grounding
1. Attach grounding cables to the frame of the solar panels and inverter.
2. Ensure grounding complies with local electrical codes.
5. Best Practices for PV Cable Installation
5.1 Minimize Voltage Drops
– Use cables with adequate cross-sectional area.
– Keep cable runs as short as possible.
5.2 Protect Against Environmental Damage
– Install UV-resistant cables for outdoor exposure.
– Use weatherproof junction boxes at connection points.
5.3 Ensure Proper Strain Relief
– Avoid excessive tension on cables by allowing slack.
– Use strain relief devices at connection points to prevent wear and tear.
5.4 Regular Inspections
– Check for signs of wear, corrosion, or damage during installation and periodically after commissioning.
### 6. Common Mistakes to Avoid
1. Using Undersized Cables:
– Leads to overheating and energy losses.
2. Improper Connector Crimping:
– Causes loose connections and potential fire hazards.
3. Skipping Conduit Installation:
– Exposes cables to physical damage and environmental factors.
4. Neglecting Grounding:
– Increases the risk of electrical shocks and equipment failure.
7. Testing and Commissioning
7.1 Visual Inspection
– Check all connections, ensuring they are tight and secure.
– Look for any exposed or damaged wires.
7.2 Electrical Testing
– Use a multimeter to verify voltage and current at various points in the system.
– Conduct insulation resistance testing to detect leaks.
7.3 System Activation
– Power on the inverter and monitor its readings.
– Verify that the system operates within expected parameters.
8. Maintenance Tips
– Schedule routine inspections for cables and connectors.
– Clean cables and conduits to remove dirt and debris.
– Replace damaged or degraded cables promptly.
Proper installation of photovoltaic cables is integral to the performance and longevity of a solar energy system. By following the outlined steps and adhering to best practices, you can ensure a safe and efficient solar installation. Whether you are a professional installer or a DIY enthusiast, meticulous planning and attention to detail are the keys to success.
Frequently Asked Questions
Q1. What is the importance of cable size in solar installations?
A1. The correct cable size minimizes voltage drops and prevents overheating, ensuring system efficiency and safety.
Q2. Can I use regular electrical cables for solar installations?
A2. No, photovoltaic cables are specifically designed to withstand environmental stressors like UV radiation and temperature fluctuations.
Q3. How do I protect PV cables from weather conditions?
A3. Use UV-resistant cables and conduit pipes, and ensure proper sealing of junction boxes.
Q4. Is grounding necessary for all PV systems?
A4. Yes, grounding is essential for safety and compliance with electrical codes.
Q5. What tools are required for crimping connectors?
A5. A high-quality crimping tool compatible with the connectors being used is necessary for secure and reliable connections.
Q6. How often should PV cables be inspected?
A6. Conduct inspections during installation and schedule periodic checks every six months or as recommended by the manufacturer.

